Connecting content with relationships
Creating and displaying content is great, but the power of a CMS really shines when you start connecting pieces of content to one another. In Apostrophe we do that with relationship fields.
INFO
If you have experience with Apostrophe 2, this may already sound familiar. It is an updated version of the A2 "join" field types.
There are many use cases for relationships, but one common use is categorization. You may have a blog with dozens of articles covering several topics. If you make a piece type for "Topics" and select a topic on each article, you can then do things such as filtering the articles by topic. Let's take a look at how this works.
The anatomy of a relationship field
We will start with a basic blog article piece type with only an area field for the article text.
module.exports = {
  extend: '@apostrophecms/piece-type',
  fields: {
    add: {
      body: {
        label: 'Article text',
        type: 'area',
        options: {
          max: 1,
          widgets: {
            '@apostrophecms/rich-text': {}
          }
        }
      }
    },
    group: {
      basics: {
        label: 'Basics',
        fields: [ 'title', 'body' ]
      }
    }
  }
};{# modules/article-page/views/show.html #}
{% extends "layout.html" %}
{% block main %}
<h1>{{ data.piece.title }}</h1>
<section>
{% area data.piece, 'body' %}
</section>
{% endblock %}INFO
Refer to the pieces guide for more information on adding piece types.
Then we can add a "Topics" piece type. Since it is only used for categorization, it doesn't need any special fields.
module.exports = {
  extend: '@apostrophecms/piece-type'
};Now that we have the two piece types, the next step is to add a relationship field to connect them. The important question is: where should we put the relationship field?
Relationships establish directional connections. That means that the connection is added on one end, then it can only be edited or removed from that same end. In the case of articles and topics, we will put the field on the article piece type. That way editors can select a topic when adding articles and they never have to edit the topic at all.
The article piece type's relationship field would look like:
module.exports = {
  extend: '@apostrophecms/piece-type',
  fields: {
    add: {
      // ...
      _topics: {
        type: 'relationship',
        label: 'Blog post topic',
        withType: 'topic',
        builders: {
          project: {
            title: 1,
            _url: 1
          }
        }
      }
    },
    group: {
      basics: {
        label: 'Basics',
        fields: [ 'title', 'body', '_topics' ]
      }
    }
};Like with all fields, we identify the field type, type: 'relationship', and give it a display label. The other two properties are new.
| New properties | What is it? |
|---|---|
withType | This identifies the Apostrophe doc type that can connect on the field. If connecting to pages, use @apostrophecms/any-page-type. |
builders | Field query builders, specifically using the project filter. This limits the data that is fetched from the connected doc. It is optional, but recommended for improved performance. See the relationship field reference for detail. |
INFO
Why does the field name start with an underscore? You may have noticed that the field name is _topics, not simply topics. Field names that begin with an underscore indicate that a reference will be saved to the database document instead of the actual data being referenced.
In the case of a relationship field, the _id of the connected doc is saved. Since that connected doc may change, the actual data will be fetched when the relationship is used so it is always up to date.
_id is another example of a document property that begins with an underscore. Pieces' _url is as well. This pattern generally indicates that a property should not be updated directly when a document is saved using APIs. _id is a permanent unique identifier and others are populated by Apostrophe when the document is loaded.
Creating relationships in the interface
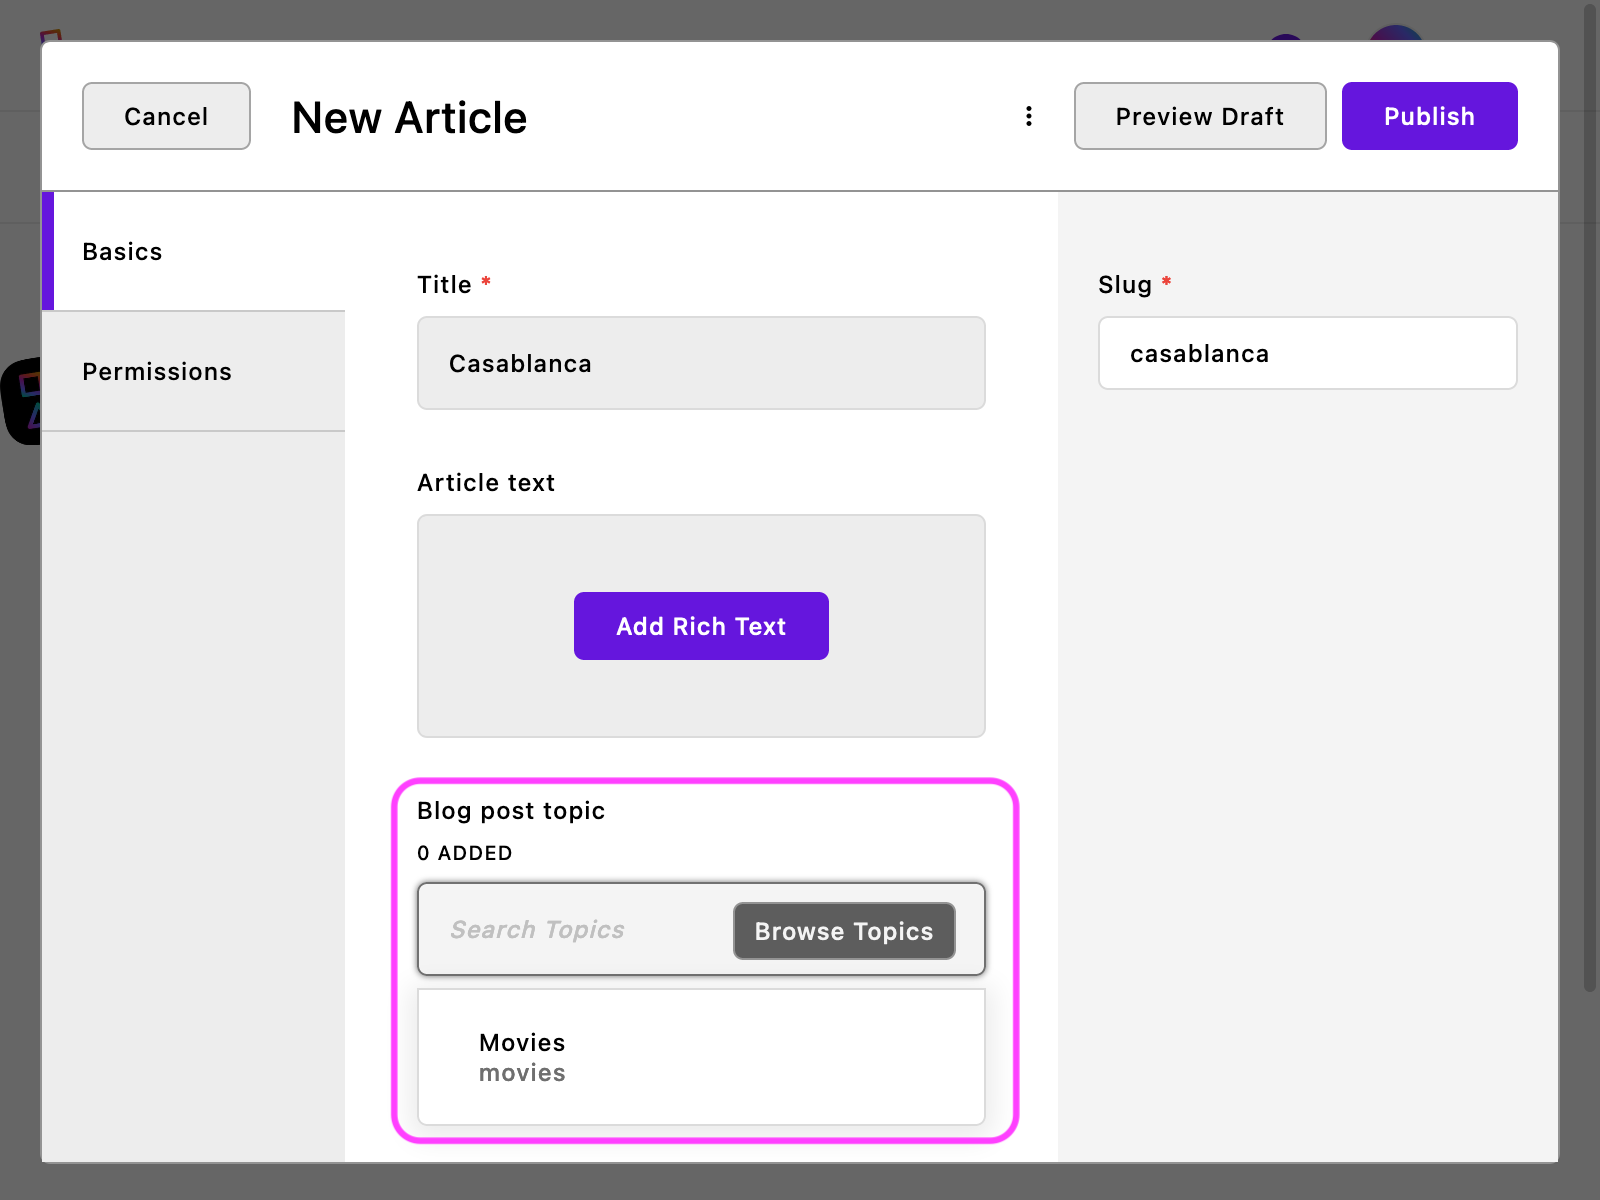
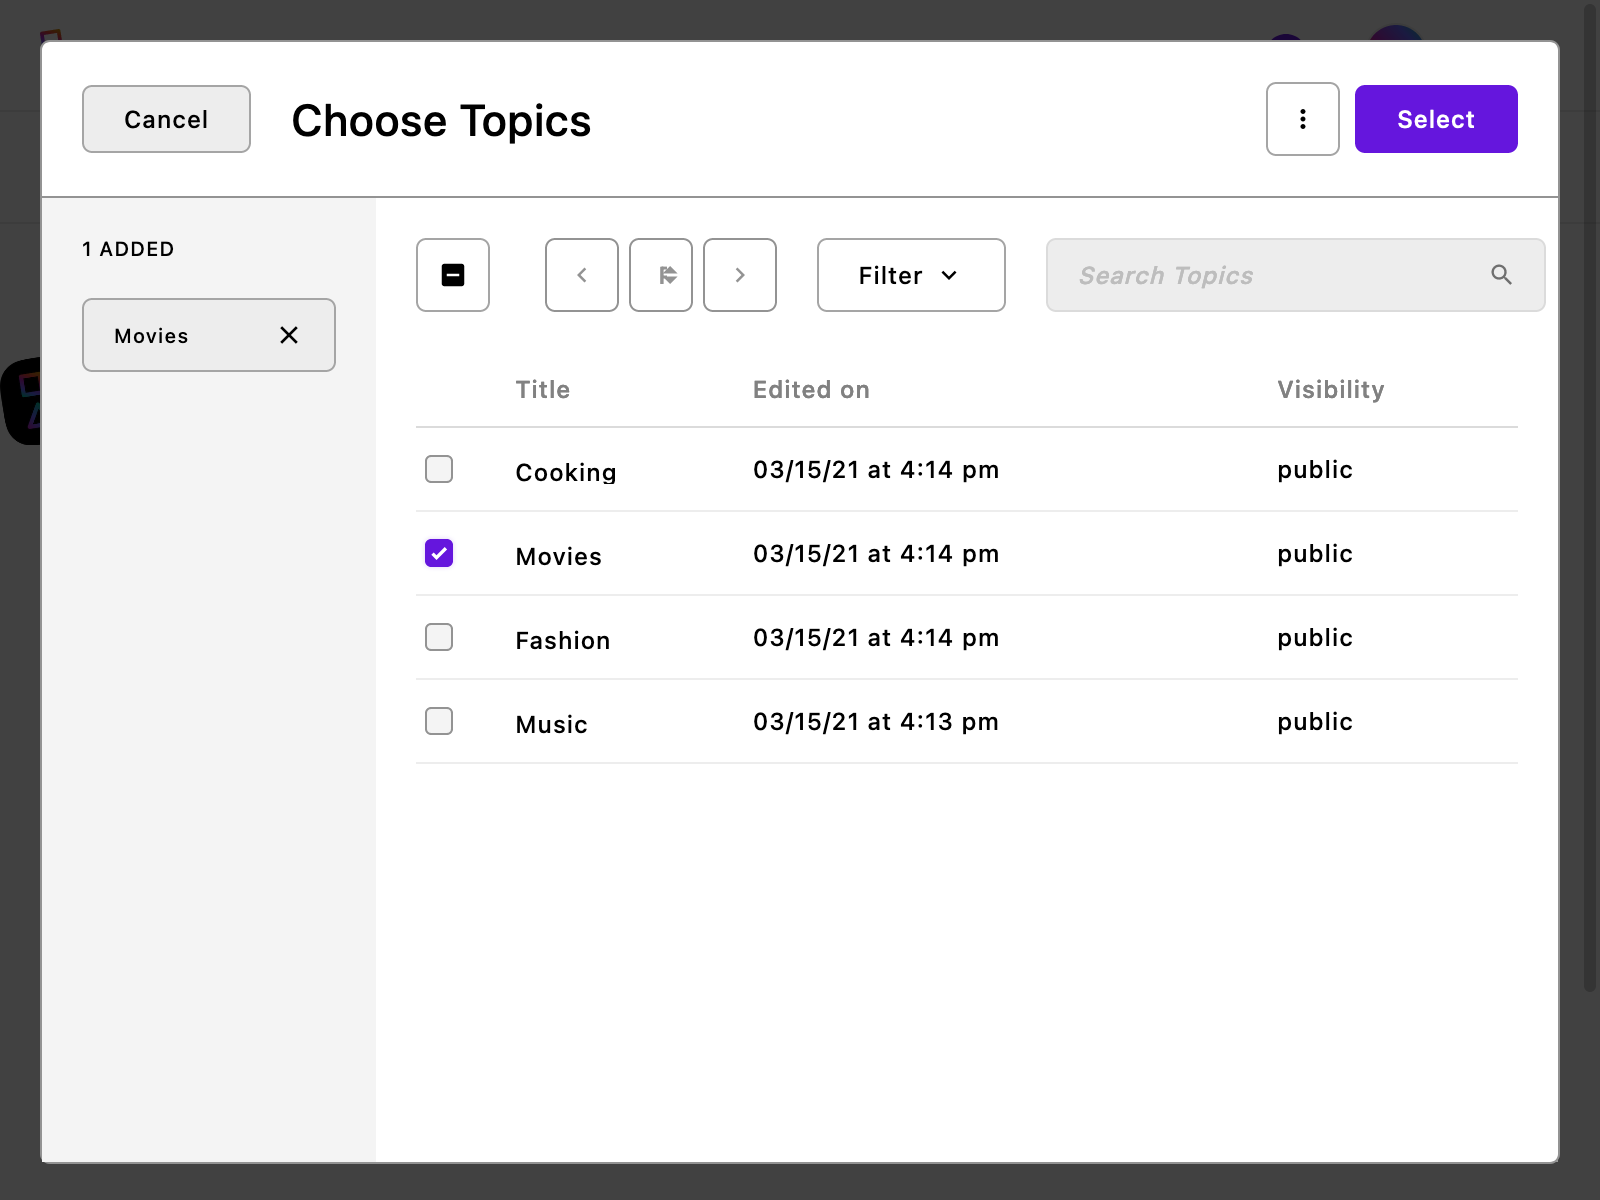
Once a relationship field is added to the schema, the editor will now include a relationship field. They can type in the name of a topic or use the "Browse" button to view the full list of topics to choose.


Limiting the number of relationships
You can configure a minimum and/or maximum number of doc relationships on a relationship field using the min and max settings.
Setting max: 1 on a relationship field will only allow one such connection.
_topics: {
  type: 'relationship',
  label: 'Blog post topic',
  withType: 'topic',
  max: 1,
  builders: {
    project: {
      title: 1,
      _url: 1
    }
  }
}
Or setting min: 2 and max: 5 will require at least two topics on the article and no more than five. These settings can be used to guide editors to choose the right number of relationship, whatever that may be.
_topics: {
  type: 'relationship',
  label: 'Blog post topic',
  withType: 'topic',
  min: 2,
  max: 5,
  builders: {
    project: {
      title: 1,
      _url: 1
    }
  }
}
See the full table of relationship field settings in the reference section.
Using a relationship in templates
Relationship fields can be referenced in templates like any other field as a property on the context object. If there is any, the field data will be an array of objects.
A blog article show page template may include this code snippet:
{# modules/article-page/views/show.html #}
<p>Topics:</p>
<ul>
  {% for topic in data.piece._topics %}
    <li>{{ topic.title }}</li>
  {% endfor %}
</ul>
Since the data is fetched in an array, we use the {% for %} tag to loop it. If there is a maximum of one connected doc, you could reference it directly using the array index:
{# modules/article-page/views/show.html #}
{% if data.piece._topics.length > 0 %}
  <p>Topic: {{ data.piece._topics[0] }}</p>
{% endif %}
WARNING
Even if the relationship has min: 1 set, requiring one selection, never assume that the relationship is populated in templates. If the selected item is archived at some point the field will become empty.
Reverse relationships
Relationships are directional, but you can still read the relationship from the opposite direction using a reverseRelationship field. A reverseRelationship field must reflect an existing relationship field. It has no user interface or property in database documents. It is simply a signal for Apostrophe to populate data when fetching a document.
In the example above of articles and topics, you might want to give each topic their own page showing every article using that topic. To do that, add a relationshipReverse field to the topic piece type:
module.exports = {
  extend: '@apostrophecms/piece-type',
  fields: {
    add: {
      _articles: {
        type: 'relationshipReverse',
        withType: 'article',
        reverseOf: '_topics'
      }
    }
  }
};TIP
You don't need to use a fields group setting here since the relationshipReverse field has no user interface. There is no label for the same reason.
This field is identifying the connected doc type with the withType setting, then the matching relationship field on that doc type with the reverseOf setting. See more about relationshipReverse configuration in the field type reference page.
With this field in place, you could display connected articles in a topics show page the same way you displayed article topics above.
{# modules/topic-page/views/show.html #}
<p>Articles:</p>
<ul>
  {% for article in data.piece._articles %}
    <li>{{ article.title }}</li>
  {% endfor %}
</ul>
Providing context with fields
In some cases, it is useful to add additional information to individual relationships. This would be information that is only relevant to the relationship and not to each individual part.
INFO
This will work for the majority of relationships. However, for relationships with @apostrophecms/image pieces you can not add additional fields.
For example, we might be working on a website that displays teams within a company and the people on each team. We would use a relationship field on each team piece to connect to multiple person pieces. With that we should list all the team members on each team show page.
If people have unique job titles within different teams we could store the job title directly on the relationship itself. Someone might be a "Support engineer" on the Support Team and a "QA engineer" within the Product Team. To do this, we add a standard field schema to the relationship field.
module.exports = {
  extend: '@apostrophecms/piece-type',
  fields: {
    add: {
      // ...
      _people: {
        type: 'relationship',
        label: 'Team members',
        withType: 'person',
        // 👇 Our relationship fields
        fields: {
          add: {
            teamTitle: {
              type: 'string',
              label: 'Team title'
            },
            teamRole: {
              type: 'string',
              label: 'Team role'
            }
          },
          group: {
            positions: {
              label: 'Position',
              fields: [ 'teamTitle', 'teamRole' ]
            }
          }
        }
      }
    },
    group: {
      basics: {
        label: 'Basics',
        fields: [ 'title', '_people' ]
      }
    }
    // ...
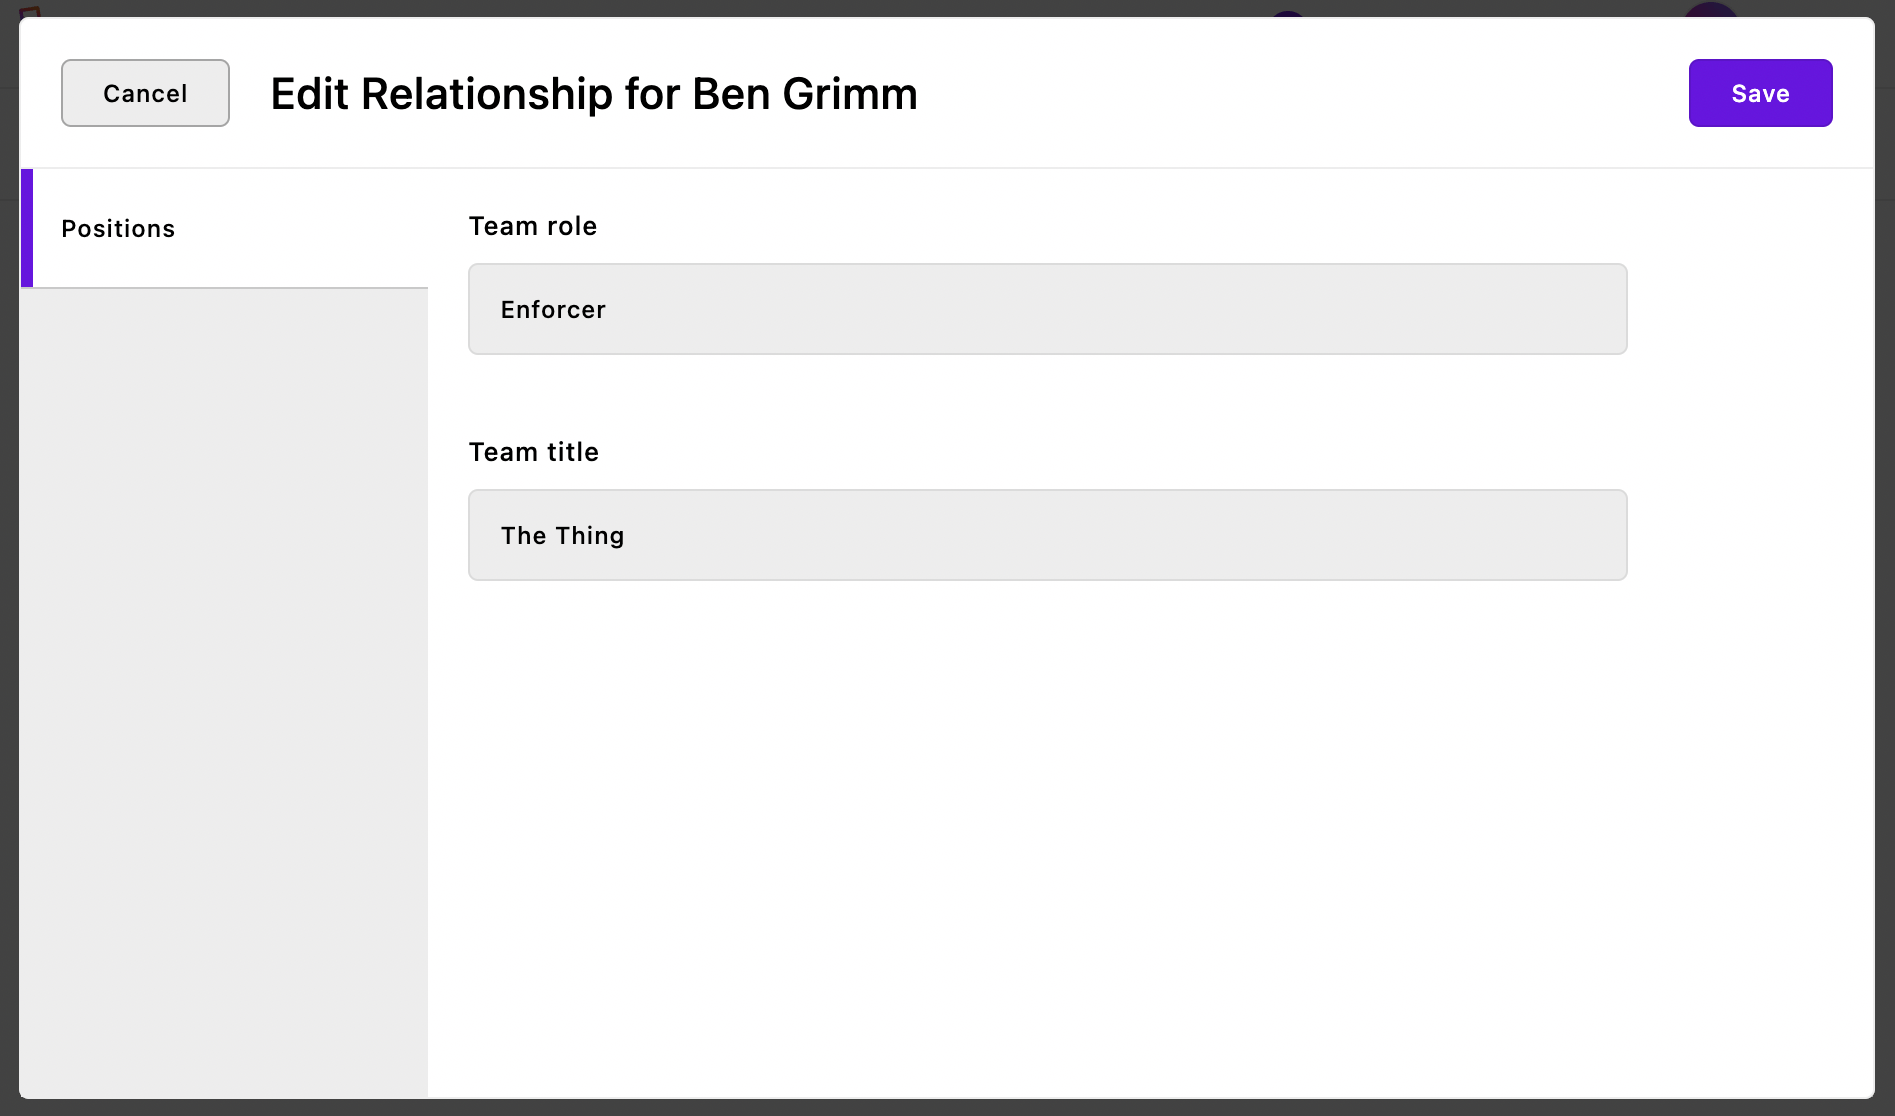
};In the example above, we add a fields property to the relationship field, just like the fields property on the module itself. Just like the primary schema, we use an add subproperty with field configurations inside it. We are also adding a group to give a label to the tab within the "Edit Relationship" modal.
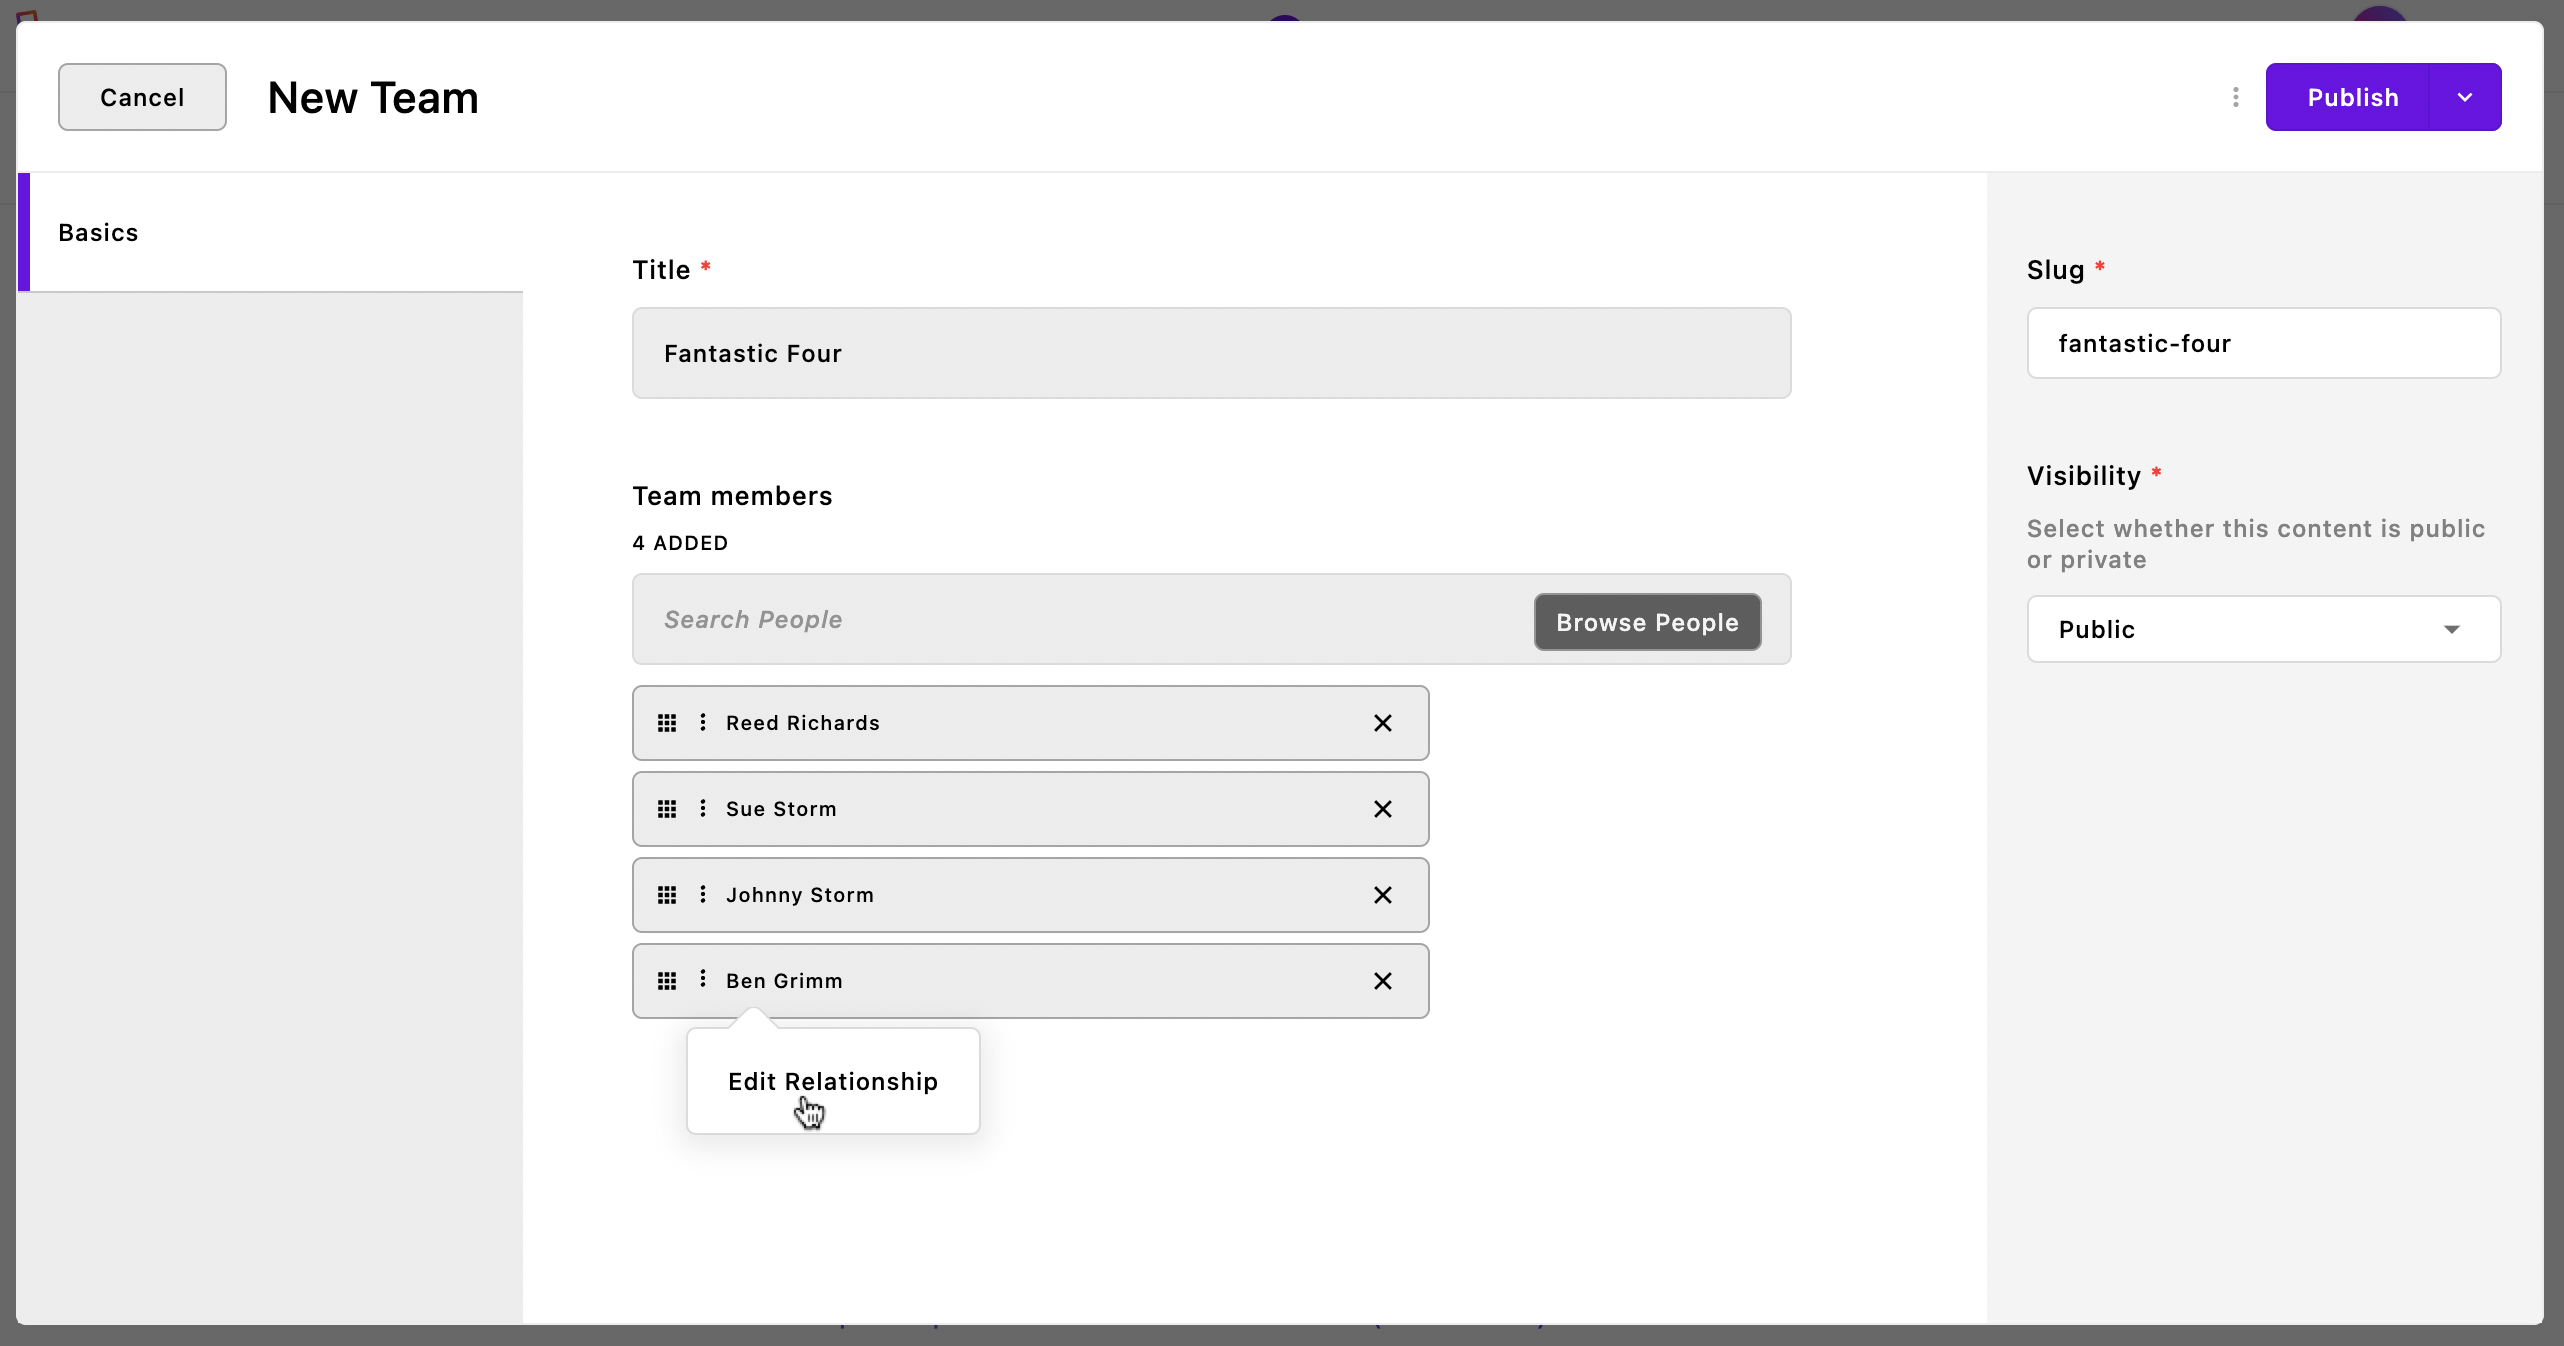
Once this is added, editors can select an "Edit Relationship" option from the context menu of each relationship.


Accessing the fields of a relationship
Once a relationship with fields has been populated, we can access it, for instance from a template, using the _fields property of each related document:
<h3>Members of Team {{ data.piece.title }}</h3>
<ul>
{% for person in data.piece._people %}
  <li><a href="{{ person._url }}">{{ person.title }} ({{ person._fields.teamRole }})</a></li>
{% endfor %}
Notice that within each element of the data.piece._people array, we can access person._fields.teamRole. This information is not about the person or the team in general — it is specific to the relationship between the two.